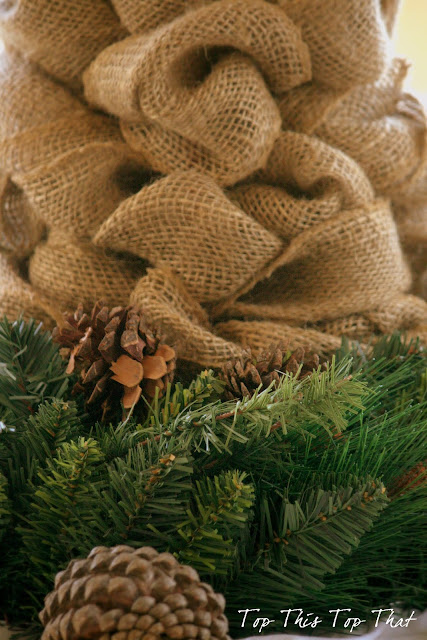
Besides being a natural, she's easy to make and will be a crowd pleaser on your holiday table.
Don't get me wrong, she was quite the show stopper in her red sequined pageant gown
but since she's competing with the queen of burlap and all ......
Supplies:
Cone shape tree ( I got mine from the Walmart)
Burlap garland/ribbon with finished edges- Joann Fabrics or Michaels Craft Store
scissors
Glue Gun
Step 1:
Strip the red garland on the base
Step 2:Cut your burlap in long strips, it will be easier to work with.
Begin weaving your strips in and out through the cone base. It is easier to work in one area at a time working side to side.
Step 3:
You will want to make sure that your outer loops are fairly consistent in size. Working in sections, work your way around the cone.
and up the cone
Step 4:
When you get to the top of the cone use something to wedge between the tree so that you can loop your burlap through the openings.
Step 5:
Work your ends through on each side and then gently pull the burlap garland as your bring the tree base back together. You can also use tweezers to gentle guide your ends through the smaller holes.
Step 6:
Since the very top point does not have a place you can loop through, you will need to cut pieces and shape into a loop and secure to the base with a hot glue gun.
Step 7:
Final step is to fluff out any bare spots on the tree by gently pulling the burlap loops. You don't want any plastic showing from the base.
Finally, smile and wave.
You can find all the my tree tutorials here.
Grateful for:
Graduating to 20th century technology and finally upgrading to a smart phone ( Samsung Galaxy)


0 comments:
Post a Comment